title: How to Use FoodScreener —
How to Use FoodScreener
Welcome to FoodScreener!
No more trying to read tiny ingredients lists in the store! Learn how to use FoodScreener to scan and evaluate food products based on your preferences.
Ideally, we’d all have time to prepare our meals at home using natural ingredients. But time is short, and carefully selected packaged foods let you have healthy meals ready quickly. Use FoodScreener to find the best packaged foods for your needs.
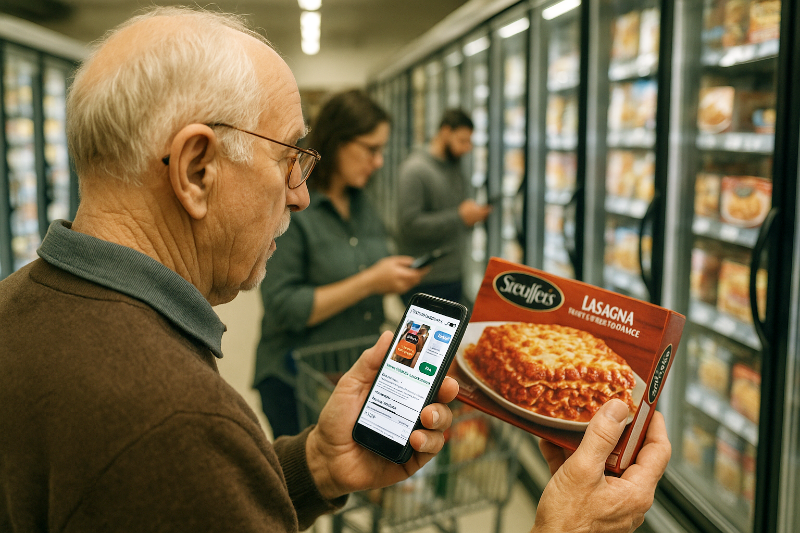
Step 1: Scan Barcodes
📱 Start Scanning
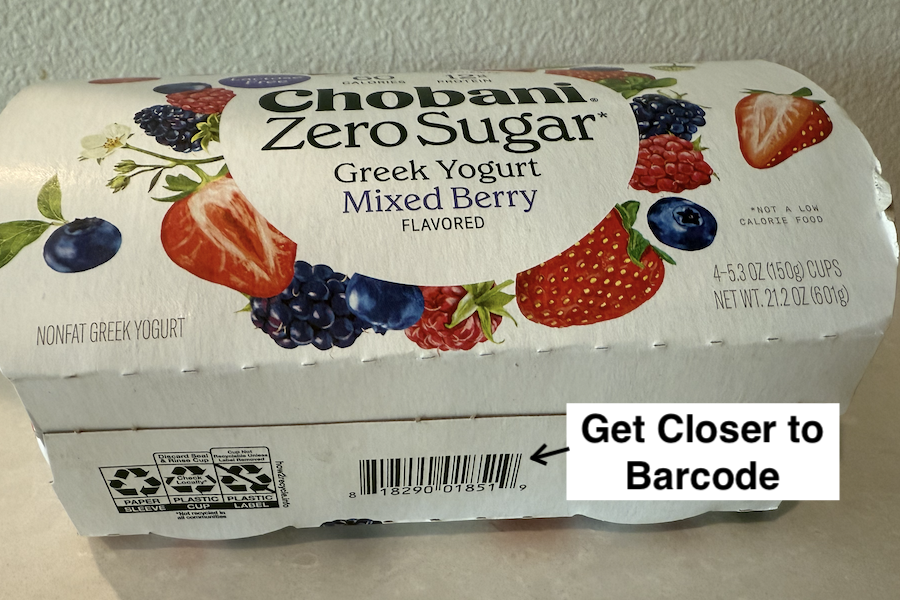
Tap the "Scan" button on the Home screen to open the barcode scanner. Point your camera at any product barcode and hold steady, or bring camera closer to barcode.
When the barcode is scanned, you'll hear a click and see the results.
Step 2: View Results
📊 Understand Your Results
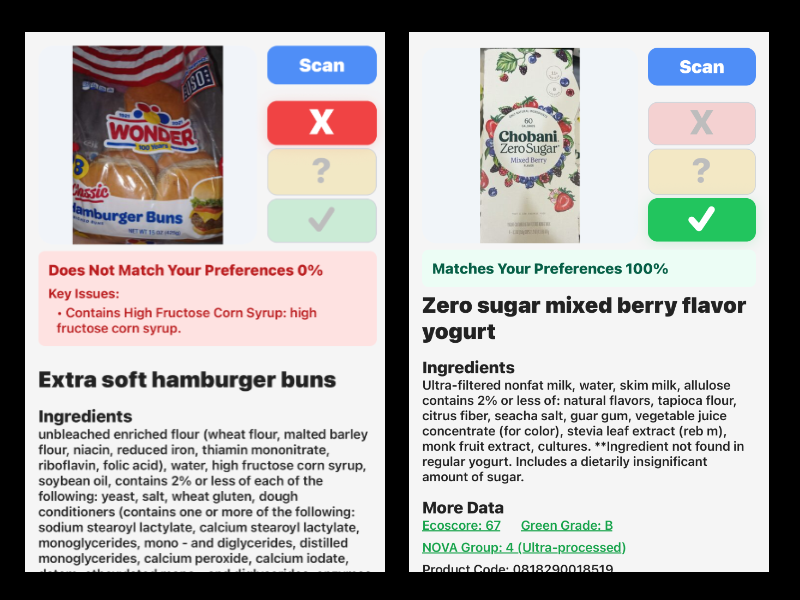
After scanning, you'll be taken to the Product screen to see details about the product including ingredients and if it matches your preferences.
If the product does not match, the reason is displayed below the product photo, or you can tap on the 'traffic light' display to see a more detailed matching evaluation.
Step 3: Set Your Preferences
⚙️ Customize Your Dietary Needs
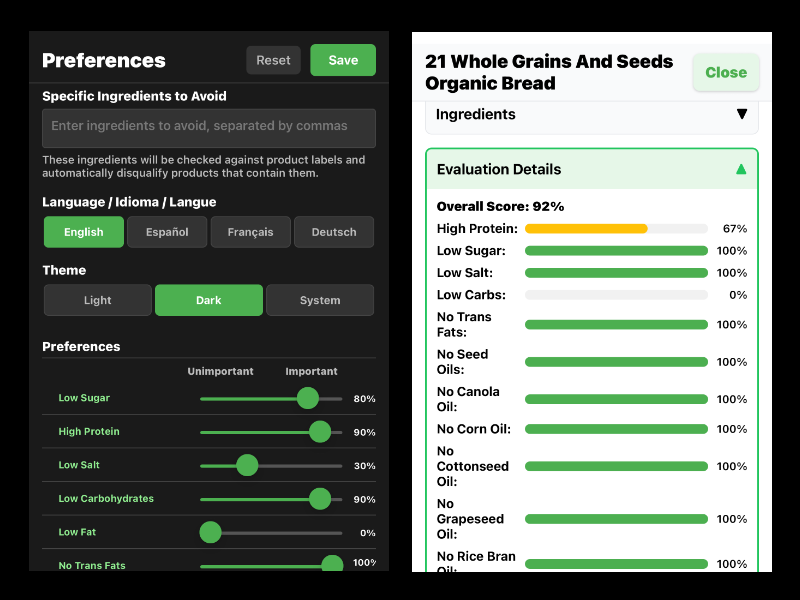
Go to the Preferences tab to set up your dietary restrictions, allergies, and food values.
How to set preferences:
- 100% - Critical requirement (must have/avoid)
- 0% - Don't care about this preference
- In between - Moderate preference
Step 4: Check Your Scan History
📚 Review Previous Scans
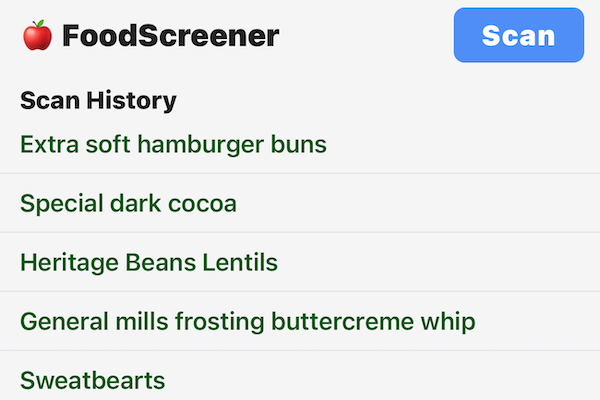
Your previously scanned products appear on the Home screen, making it easy to check items you've scanned before.
Just tap any item line to see the full product page with all details.
This helps you:
- Remember products you've already checked
- Compare similar products
- Share findings with family members
You’re All Set! 🎉
🎯 Start Making Better Food Choices
Now you can make informed packaged food choices based on your personal preferences.
Next Steps:
- Create an Account: Go to About → Login → Signup to sync your preferences to our secure cloud storage
- Get Full Version: After your trial period expires (20 scans), purchase FoodScreener at About → Purchase App to continue using
- Stay Updated: Check our Privacy Policy under About - your personal data will not be sold, and we'll only contact you with critical updates
Happy scanning! 🛒